
iPhone editing guide
How to Fix Overexposed Photos on iPhone
Correct an already-shot iPhone photo with built-in controls, then use AI when the image needs a faster balanced adjustment.
Fix an Overexposed Photo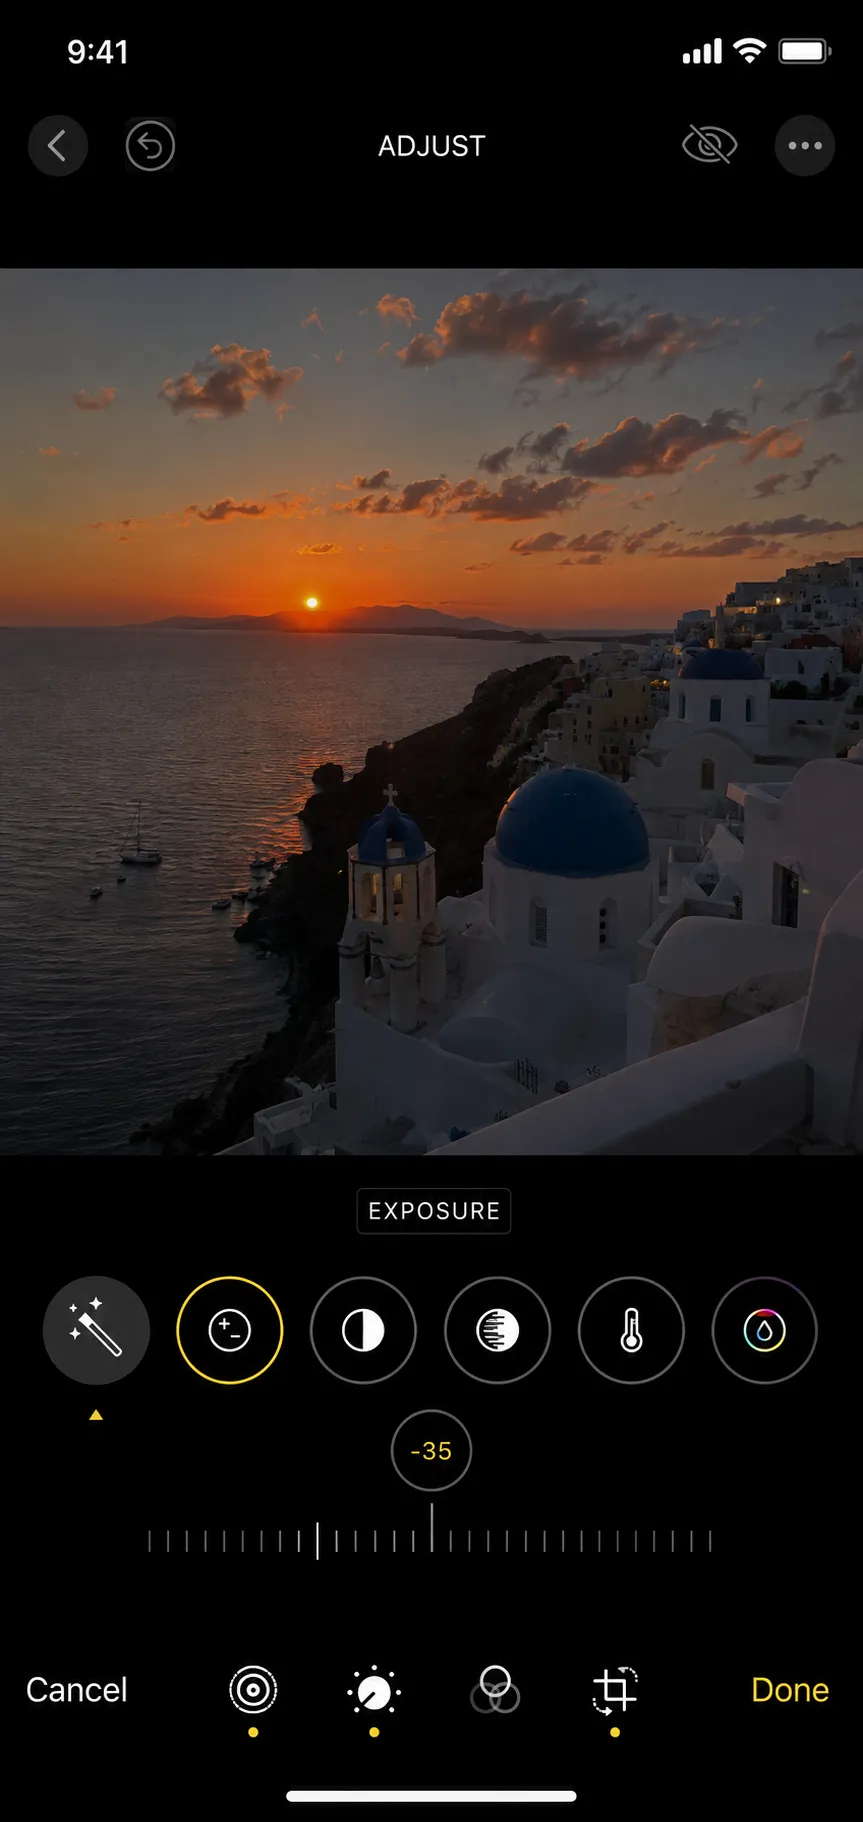
Edit the original photo, not a screenshot
Lower Exposure before making strong color changes
Use Highlights for bright detail and Brilliance for balance
Save a copy if you want to preserve the current edit
Quick answer
Open the photo in Photos, tap Edit, lower Exposure, reduce Highlights, and adjust Brilliance or Contrast only as needed. Start with small changes and keep checking faces and white areas. For an automatic result, upload the original iPhone photo to the online fixer.
Lower Exposure in the Photos app
Open Photos, choose the image, tap Edit, and select the Exposure control. Drag left in small increments. Stop when the main subject looks believable, even if the brightest region still needs work.
Exposure affects much of the frame, so a large reduction can make midtones and shadows look dull. The next controls target the bright range more precisely.
Reduce Highlights, then refine Brilliance
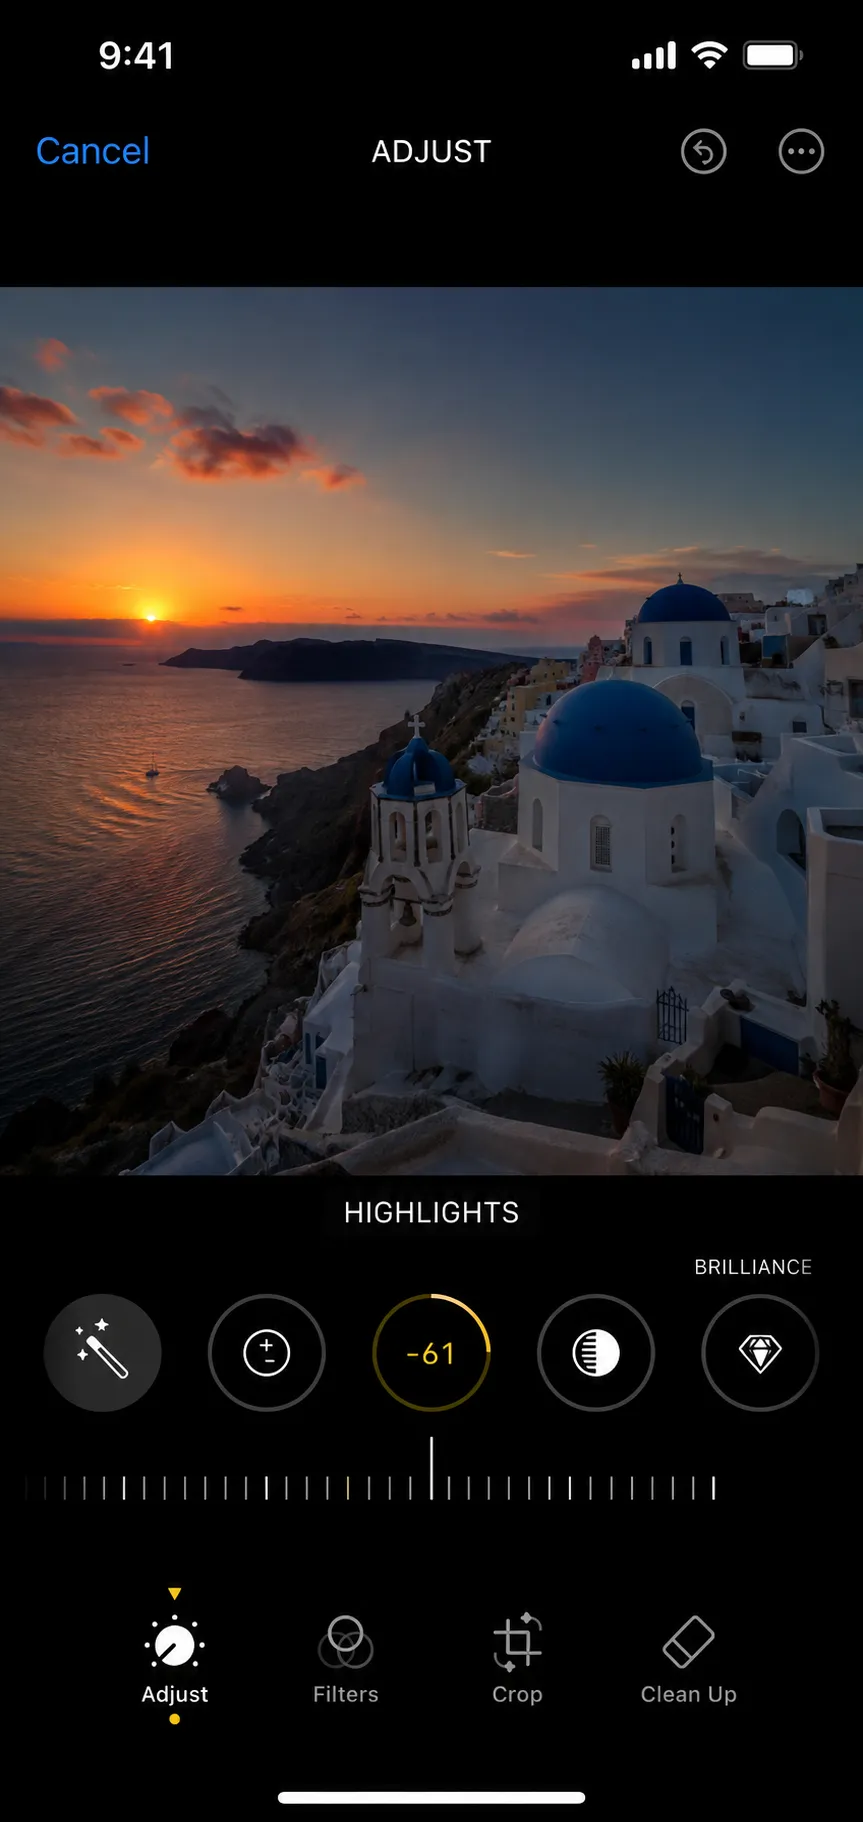
Move Highlights left to reduce intense skies, windows, and pale surfaces. Then adjust Brilliance gently to restore separation in the middle tones without making the photo flat.
If the image still looks faded, add a small amount of Contrast or Black Point. Avoid using Saturation as the first fix because it does not restore missing tonal detail.
- Exposure: overall light level
- Highlights: bright tonal range
- Brilliance: adaptive midtone and highlight balance
- Black Point: depth in the darkest tones
Use AI when manual sliders are not enough
Strong backlight, flash, or mixed exposure may require different corrections across the image. Upload the full-resolution iPhone photo to the fixer so the subject and background can be balanced together.
Compare the result at 100 percent before downloading. Completely white areas still have limited original detail, regardless of the editing method.
Fix backlit, sky, and washed out iPhone photos
A backlit iPhone photo has a bright window or sky behind a darker subject. In the Photos app, lower Highlights to bring the background down, then use Exposure or Brilliance to lift the face or object separately. Because these controls affect the whole frame, you may need to accept a compromise between the two sides.
For a washed out photo, reduce brightness and add a little Contrast before touching color. For a white sky, pull Highlights left and watch whether any blue or texture returns; if the sky stays flat white, it was clipped at capture and the online fixer is the better next step.
- Backlit: lower Highlights, then lift the subject with Exposure
- Washed out: reduce brightness and raise Contrast before Saturation
- White sky: reduce Highlights and check for returning color or texture
Frequently asked questions
Questions about how to fix overexposed photos on iphone
Fix excessive brightness in your own photo
Upload the original image, compare the corrected exposure, and keep the version that looks natural.
Upload a Photo